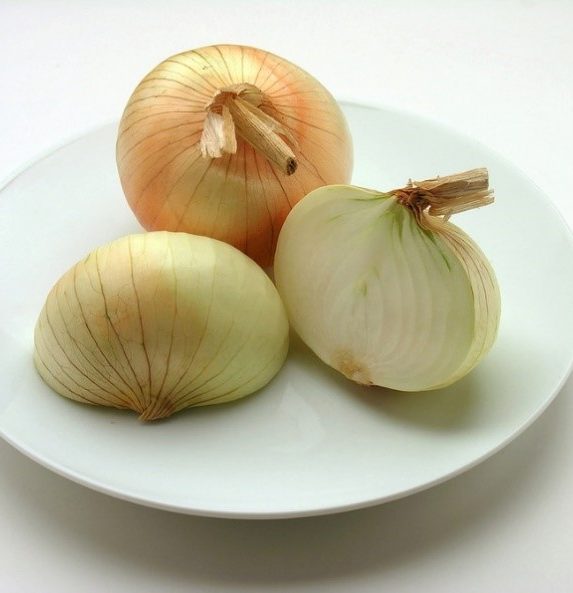
Do you want to make your meals more delicious? Try Vidalia onions! These onions are sweeter and milder than regular yellow onions. They come from Vidalia, Georgia, and have been grown there since the 1930s.
Benefits of Vidalia Onions
Onions are part of the same plant family as garlic, shallots, and leeks. People have been growing these plants for centuries, because they taste good and for their potential health benefits. Vidalia onions have nutrients, including vitamin C and potassium, which help keep your body strong and healthy.
Sweet Facts About Vidalia Onions
- Only grown in Georgia! If an onion is grown somewhere else, it can’t be called a Vidalia onion.
- Found by accident. A farmer planted onions and was surprised when they turned out sweeter than normal!
- Georgia’s sandy soil makes them sweet. The dirt has low sulfur, which gives Vidalia onions their mild flavor.
- Won’t make you cry as much. Most onions have a chemical which makes your eyes water. Vidalia onions have less of this, so they don’t make you cry as much.
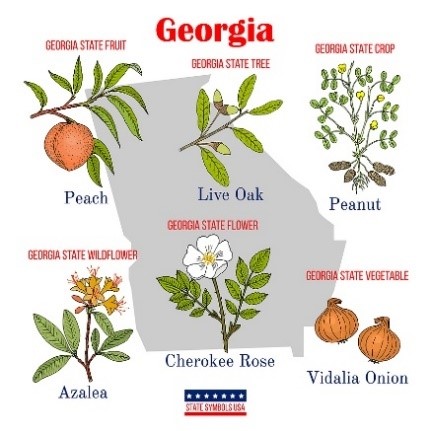
- Official state vegetable of Georgia! Vidalia onions got this title in 1990.
- Harvested from April to August. These onions are only available for part of the year, so enjoy them while you can!
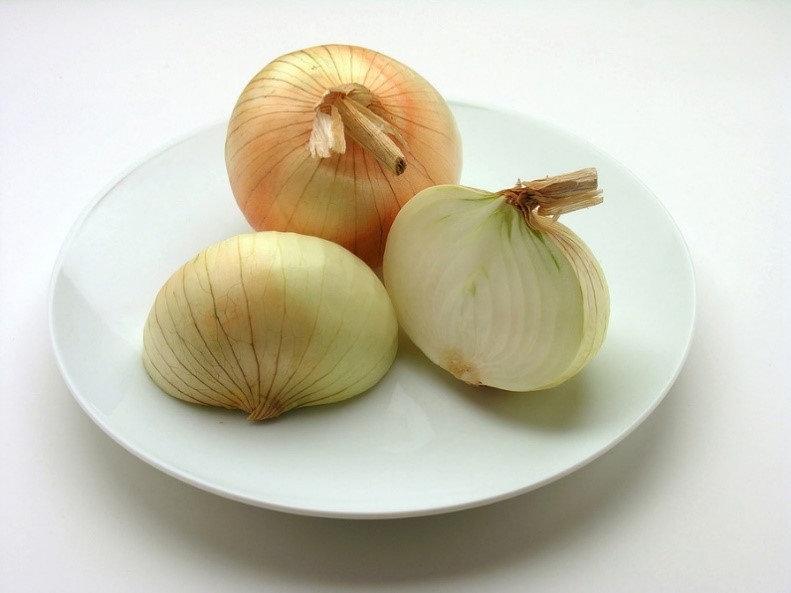
It’s Easy to Cook with Vidalia onions!
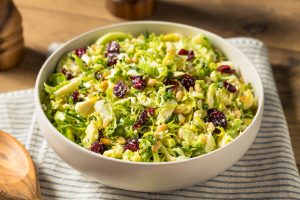
- Eat them raw in salads or sandwiches.
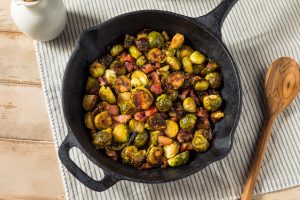
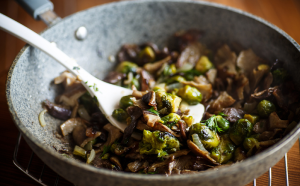
- Sauté or roast them in a pan to bring out their natural sweetness.
- Grill them for a smoky taste.
- Pickle them for a tangy twist.
10 Ways to Use Vidalia Onions
1. Chop them up and add them to a salad for a little crunch.
2. Use them in omelets, frittatas, or quiches for extra flavor.
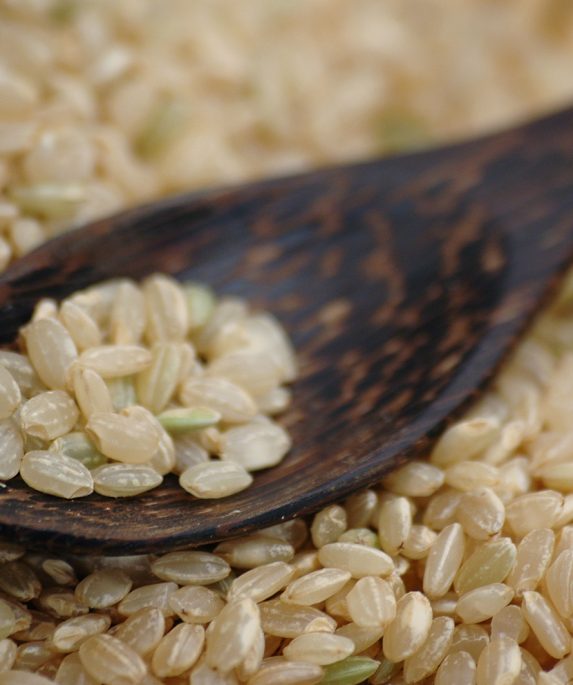
3. Toss them into a stir-fry or pasta dish for a sweet kick. Our Rustic Rotini recipe is a crowd pleaser made better by the flavorful onion!
4. Make onion rings—they’re great in an air fryer!
5. Perk up soups and stews like French onion soup or our 15 Minute Chili.
6. Sprinkle them on pizza—sweet onion goes great with cheese and sauce! Try our crispy tortilla pizza recipe using Vidalias.
7. Sweeten your greens with Vidalias.
8. Grill or caramelize them to top burgers, meat, or tofu.
9. Freshen up homemade salsa, guacamole, or other dips with Vidalias.
10. Try this classic recipe: Peel a Vidalia onion and cut a small cone-shaped hole in the top. Put in a bouillon cube and a little olive oil in the hole. Wrap it in foil and bake on a pan at 350°F for 45-60 minutes until soft. Enjoy!
Vidalia onions are delicious, healthy, and easy to use in many meals. Their mild, sweet taste adds flavor without being too strong. Whether you eat them raw, cooked, or grilled, they bring out the best in your food. Plus, they are good for you!
Published April 17, 2025
Laurel Sanville, MS, RDN, LD | Edited by Jung Sun Lee, PhD, RDN; Edda Cotto-Rivera; and the nutrition education team


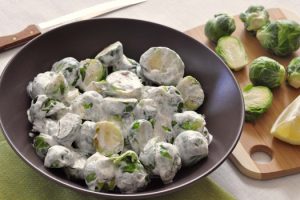
 Cleaning and Storing